S.T.E.A.M
Science, Technology, Engineering, Art, Math
STEM Day Fun!

The Boston Globe
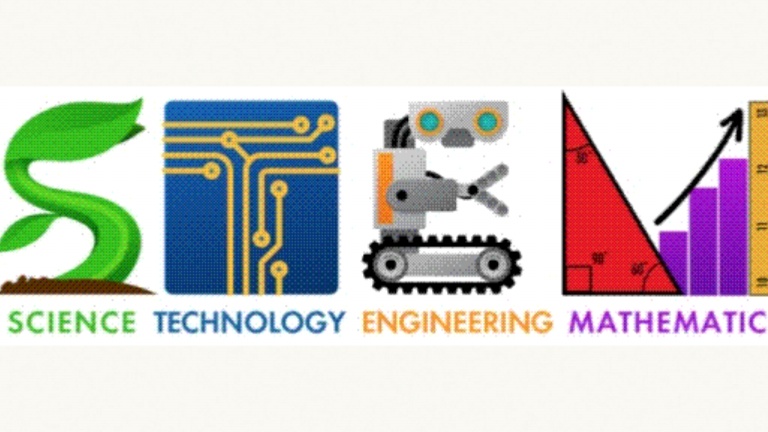
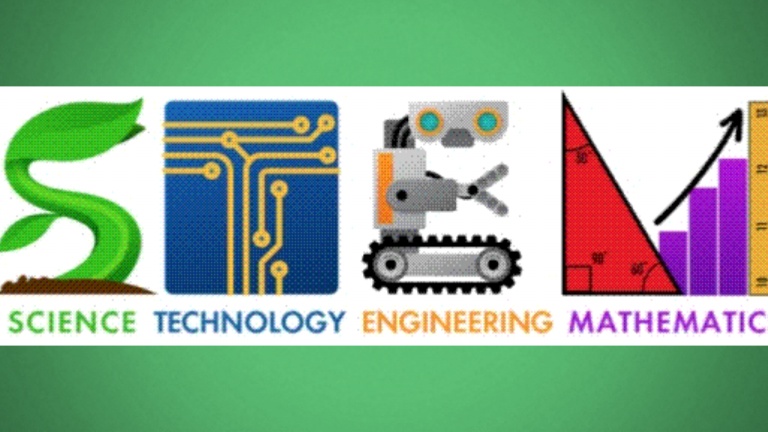
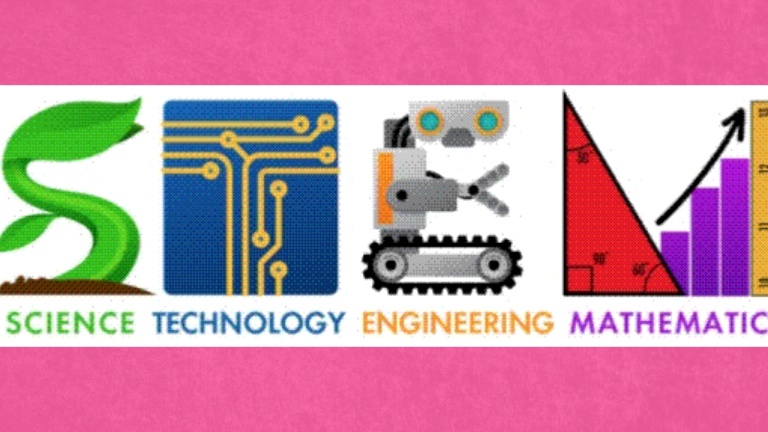
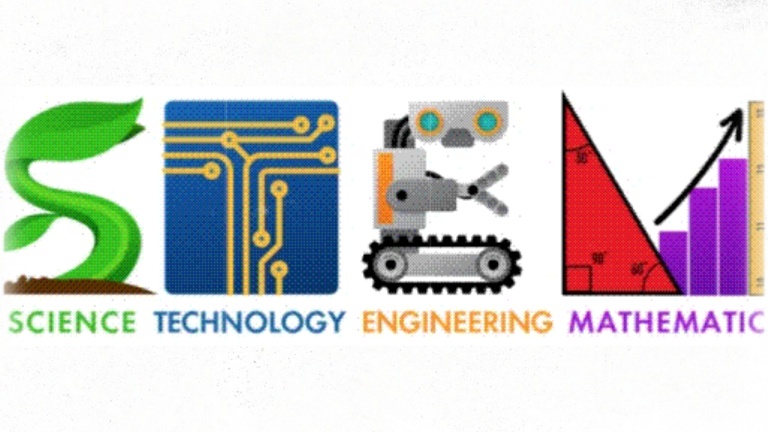
Why STEM and reading go hand in hand
http://readingpartners.org/blog/why-stem-and-reading-go-hand-in-hand/


See More Photos Below!


S.T.E.M. Week 2017

Book Spotlight
August Books of the Month
August S.T.E.M. Challenge of the Month
August Challenge - Marshmallow Tower:
Materials:
● 1- large marshmallow
● 1- yard of masking tape
● 1- yard of string or yarn
● 20- sticks of raw spaghetti (must be spaghetti; not spaghettini, fettucini, etc.)
● Stopwatch
● Measuring Tape
Students will be building the tallest structure that they can using the materials. They should use
the Engineering Design Process and complete each step. Students will work to build the tallest
free-standing tower possible with the entire marshmallow on top. Students may break the
spaghetti and/or the tape and may use as much or as little of the materials as they need.
Students should review the Engineering Design Process and redesign their structures based on
the data they gathered while their structure was measured.
September Books of the Month
September S.T.E.M. Challenge of the Month
September Challenge - Pom Pom Cannon:
Materials:
● 16 oz paper or Styrofoam cups
● 12" balloons or latex gloves
● Masking tape
● Scissors
● 3 Different sizes of Pom Poms
Students will work to construct and test their own modified torus cannons. To construct
their pom pom cannons, students will cut a small hole in the bottom of the cup. The hole will
need to be about the size of an M&M and students can even trace one before cutting to get
the right approximate size.
Then, students will cut the "stem" off the balloon (or cut the "palm" out of the latex gloves) and
stretch it across the lip of the cup and tape the edges with masking tape.
When the cannon is complete, students should select one of each size pom pom for testing.
Starting with the smallest pom pom (because students may need to cut a larger hole to
accommodate the larger pom poms), students will conduct a series of trials and measure the
distance of each pom pom launched. Then, students will find the average distance each pom
pom traveled.
Once your child has gathered their data, review the engineering design process and improve
your project to launch your pom poms farther.
October Books of the Month
October S.T.E.M. Challenge of the Month
October Challenge - Paper Helicopters:
Materials:
● Paper (the more different kinds, the better; vary them in thickness/weight)
● Scissors
● Paperclips (again, the more different sizes and weights, the better)
● Rulers
● Stopwatch
● Pencils
● Measuring tape (seamstress tape works best)
Use the following website:
https://www.exploratorium.edu/science_explorer/roto-copter.html
to see a basic design (steps 1-6). Once students have experimented with this basic design they
can design their own. Aside from using these materials, students will need a way to safely
release their helicopters. Students generally want to stand on chairs, tables, etc to obtain a
high drop height, so the test-heightfor this challenge is: 2nd grade: 3 feet, 3rd grade: 3.5 feet,
and 4th/5th grade: 4 feet.Students can tape the measuring tape to a wall, cabinet, etc. to
easily and accurately measure their drop height. Drop your helicopter 5 times to find how long
it stays up. Timed trials can be recorded in a simple table for analysis. Don’t forget to
improve once you have analyzed your results from your original design!
November Books of the Month
November S.T.E.M. Challenge of the Month
November Challenge - Paperclip Sailboats:
Materials:
● fan (a box fan works well)
● card stock, tissue paper, construction paper and other types
● index cards
● straws
● craft sticks
● glue and tape
● jumbo paperclips (lots)
● scissors and rulers
● other miscellaneous supplies to inspire student creativity
For this activity, students should design a paper sailboat with a flat bottom. Once you are
finished designing, you will build the boat from the above materials. The fan should be placed on
a smooth floor, you should place the boat at a start line (located on the floor just in front of
the fan) and be allowed to travel as far as possible. Students will record the distance their
boat traveled and have a chance to redesign it for maximum distance.
After three trials, students will begin to test their designs carrying payload (jumbo paperclips)
the farthest distance. Students will start with one paperclip and conduct trials with an
increasing number. Each time they will record the distance traveled up to five paperclips.
December Books of the Month
December S.T.E.M. Challenge of the Month

January Books of the Month
January S.T.E.M. Challenge of the Month
Borax Crystal Snowman
How to Make a Borax Crystal Snowman
Materials
To Assemble the Snowman:
Pom poms of various sizes
Pipe cleaners (aka chenille stems)
Googly eyes
Various beads and yarn pieces, depending on how you want to adorn your snowman
An acorn top to use as a hat
Acrylic paint
Mod Podge
Hot glue gun
To Crystallize:
String
Pencil
Mug, vase, or jar
Boiling Water
Borax
Directions
Assemble the Snowman:
Paint the acorn top with acrylic paint. When dry, seal with Mod Podge. Set aside and let dry.
Use hot glue to assemble your snowman. Be creative! Stick the pom poms together first. Then glue on the eyes, nose, mouth, etc. I cut a pipe cleaner into smaller pieces and glued them to the sides for arms.
Lastly, glue on the acorn hat. Be generous on the glue on this one.
Tie a string to the top of the acorn top and hot glue it so it’s good and secure.
To Crystallize:
Attach the string to a pencil, pen, spoon, or other long object.
Fill your jar or vase with boiling water. Add 3 TBSP borax per cup of water and stir. It’s okay if some borax settles on the bottom of your container.
Lower your snowman into the hot water/borax mixture. Make sure it is not touching the sides or the bottom of your container, and that you can get it through the mouth of your container easily. Feel free to trim or bend your snowman accordingly.
Make sure your jar is in a quiet place where it won’t be disturbed. You don’t want it to get jostled or bumped at all while the crystals are growing.
After a couple of hours you will start to see crystals growing! Leave your mixture overnight for best results, or remove your snowman after just a few hours if you just want a light dusting of crystals.
Let your snowman dry on a paper towel for an hour or so. Then pick it up and admire it in the sunlight. Grab your magnifying glass to get a closer look at your crystals!
February S.T.E.M. Books of the Month
February S.T.E.M. Challenge of the Month
Valentine's Slime
Supplies Needed for Valentine's Slime
Clear glue (2) White Glue (1) Elmer’s Washable Glue works best!
Liquid Starch
Water
Measuring Cups (1/2 cup)
Red food coloring
2 bowls and a spoon for each slime!
Glitter and heart confetti
1. In one bowl mix 1/2 cup water and 1/2 cup of glue {really mix to combine completely}.
Pour glue into water. Stir the glue and water together well!
2. Now’s the time to add color, glitter, or confetti! Remember when you add color to white glue, the color will be lighter. Use clear glue for jewel toned colors!
Mix the glitter and color into the glue and water mixture.
3. Pour in 1/2 cup of liquid starch. You will see the slime immediately start to form. You won’t be able to use a spoon for very long. The slime starts to come together instantly!
4. Switch to mixing with hands for a few minutes until you feel the majority of the liquid incorporated into the slime.
5. Put in a clean, dry container or on a plate. Slime can be played with right away but it’s consistency changes a bit over the next 30 mins to a smoother looking substance as opposed to the stringier slime you may originally see.
March S.T.E.M. Books of the Month
March S.T.E.M. Challenge of the Month
March Challenge
March Challenge - Zip Lines:
Materials:
● string
● index cards
● marbles
● tape
● paper clips
● paper cups (any size)
● scissors
● bullseye target
Students will use available materials to construct a zip line that will drop a marble onto a
bullseye.
For the zip line, students should use a length of string. Construct the zip line by placing two
chairs six feet apart and tying or taping the string to both chairs. To achieve the correct
angle, students will want to tie one side to the back of the chair with the other side to the seat
of the chair.
Students will use the paper cup as a gondola. Students will attach a marble to it and then
release it onto the bullseye. Generally, students will come up with one or two scenarios for
attaching the marble: cut a hole in the side of the cup to dispense the marble or design a ledge
for it. No matter what creative solution students decide on, a length of string will need to be
taped to the bottom of the cup so that as the cup approaches its target, the marble can easily
be released.
In addition to designing a way to hold and then release the marble, students will need to find a
way for the cup to slide down the zipline and will also need to determine when to release the
marble so that it lands on the target. Don’t forget to use the Engineering Design Process to
complete the challenge.
April S.T.E.M. Books of the Month
April S.T.E.M. Challenge of the Month
April Challenge
April Challenge - Lunar Landers
Materials:
● 8 straws
● 3 index cards (4x6)
● 1 3oz cup
● 3 rubber bands
● 10 small marshmallows
● 2 large marshmallows
"Astronauts" (large marshmallows) are placed in their "cabin" (3oz cup) and are dropped from a
pre-determined height.. Students must use the other provided supplies to cushion their landing
and cause the astronauts to remain in the cabin. (Think about this as a version of an Egg Drop
challenge.)
Here are the rules:
● No other items maybe inside the cabin with the astronauts
● The cabin may not have any type of lid, covering, or roof
● The astronauts may not be stuck together or stuck to the cabin
As you progress through the challenge, test your designs and note the status of the astronauts.
You should strive for a design in which both astronauts stay in the cup. You will drop the
landers from a height of 2 feet. The drop height can be increased for any additional rounds to
determine the best design, however, students should NOT stand on ANY objects to get higher!
May S.T.E.M. Books of the Month
May S.T.E.M. Challenge of the Month


7 S.T.E.M. Apps for Students
https://www.asme.org/career-education/articles/career-and-education/7-stem-apps-for-students