Week 6-7 Everyone Can Draw
EDCI318 Tech for Teaching & Learning-SPRING 2019
Don't freak out, I know everyone is Not an artist...but it is not about being an artist for this project! It is about TRYING and LEARNING.!
DRAWING-Igniting Your Creativity
Everyone Can Create: Drawing
“Each chapter of Everyone Can Create: Drawing takes you through a series of fun activities to help you acquire key skills and build a final project”
No, you don't have to be an artist!! In fact, I suspect you will be pleasantly surprised at the skills you actual.ly have and be very proud of your creations. So open your mind and give it a try!!
Teachers Guide: Do not Neglect reading-it ties it all together from the teachers point of view!
Everyone Can Create DRAWING in iPad STUDENT Guide Link
A STYLUS will be EXTREMELY useful
Even though the book discusses the Apple Pencil, no need to purchase one, all stylus work!!
The best-of-the-best Stylus is the Apple Pencil, although it comes with a heavy price tag of $99, and the Apple Pencil only works with the iPad Pro or iPad 6. If you have a COE iPad many of you have an iPad 6, so it would work with the iPad 6. To learn more about the Apple Pencil https://www.apple.com/apple-pencil. I have an iPad Pro and love the Apple Pencil, I will say it has been a game changer. But any stylus will work for most tasks. Some of my favorite before the Apple Pencil were:
- Joy Factory Pinpoint Precision X2 Rechargeable Active Digital Stylus $49.99
-
FiftyThree Digital Stylus $24.99
Crayon Digital Pencil for iPad 6th Generation $69.99 (I was recently in a school with this, I was very impressed)
You can find all kinds on Amazon, in stores and for free on the tops of pens. They all work. My suggestion is to get one.
As a teacher, having a stylus to GRADE papers and is an absolute.
Your classmates point of view
From Spring 2019 said:
Week 6-7: Everyone Can Create - DRAWING For these last two weeks we were challenged to complete a drawing activity. We were to use an app on our iPads called Tayasui Sketches School. This started as an exciting assignment and I actually started out enjoying the opportunity to get to be creative. The excitement slowly turned to dread as I realized that not only had I done the assignment wrong… but I had to redo most of what I had completed simply because I hadn’t read the directions all the way through. I hadn’t looked at the book “Everyone Can Create Drawing On iPad” and instead I just drew what I felt the title was asking for… Granted, I definitely learned my lesson and will always read the directions all the way through first. I also learned a few other things this week… Such as:
- 1. Drawing on an iPad is different than drawing on paper or in a sketchbook. I expected to have a pretty easy time with this assignment but was surprised to find that my stylus would draw slightly higher up and more to the left than where I would hit on my iPad. The stylus also picked up anytime my hand would wobble so I had to keep a steady hand at all times. I definitely took advantage of the undo button though! It was nice not to have to erase and I could just undo it with the tap of a button. I also borrowed an Apple Pencil from a friend to see how it was different. It was so much nicer! I may end up getting one in the future because of this assignment! I also included a sketch from my actual sketchbook that I had done on shadow studies to show the difference. This was because it was easier to tell on paper than it was on the iPad and I wanted to remember that in the future.
- 2. Don’t sweat the little things. Perfection isn’t possible. I enjoy drawing. I’m not the best but I can mess around and have fun with it. I will admit that on this assignment I obsessed over some drawings and then others (particularly the ones I wasn’t quite as interested in) I was a little sloppier. On some drawings, I became anxious and had a few OCD moments because I was so concerned that the drawing had to come out a certain way. For example, on the page called “Create a Sketch of an Object,” I wanted to create a 3-D perspective of the doctor’s office I was in but it took longer than I had anticipated. Instead of just one sketch, I had one lipstick cartoon and two perspectives which was more than the assignment had asked for. I could’ve used that time to develop other pages further or done some of the extra credit assignments.
- 3. Everyone has their own style. Something that is often forgotten is that everyone approaches things differently. While my initial approach was to create things kind of like a cartoon, others may have done very abstract sketches. This works as a metaphor within the classroom as well because…
- 4. Everyone has different talents. Not everyone draws well. Some may be great at solving math problems while others may be gifted at kicking a soccer ball. You can’t be good at everything and that’s okay.
- 5. Drawing in the classroom will definitely come in handy. Like students have different talents, students also learn differently. Some students may be auditory learners while others might be visual learners. Whatever way will help my future students learn the best is what I need to be able to do. If using an app to create an info-graph will help them understand the populations on each continent then I would be happy to make that for them! If breaking foods into shapes is the easiest way for Kindergarteners to remember them, then I’ll draw them! Even though many teachers claim to be terrible at drawing, they need to be able to get the point across because they do use images and drawing so much within the classroom. Overall, this assignment was definitely helpful in the long run!
Growing up, when I was going through grades K-12, I remember always hearing teachers say "Sorry, I'm not an artist" any time they drew anything on the board. Yet, visuals are still a very important part of learning. For some, this is how they learn best and as teachers, we ought to try to accommodate various learning styles as best we can. I found this to be incredibly beneficial. For one, I LOVE the Sketches School app. The different pen styles made it fun to use, yet they were also very simple to use. It didn't take me long to realize which ones I liked the best and why. I find that I could really utilize this app in my classroom. Maybe if I know I'm teaching a novel with a lot of characters, I could draw an organizer to help my students out and just save it to my photos where it's easily accessible. This may be my most favorite app we've utilized all semester. It was great, and I really see myself using it in the future.
From Fall 2019 Ray Tanner said:
The point of these drawing assignments is not to make me a better drawer, but to get me out of my comfort zone. To make me do something I wouldn’t do otherwise. This idea is what would make this so important to us as teachers. We can use this to help the students who wouldn’t draw otherwise to get out of their comfort zone and experiment.
Teacher Guide-Read the DRAWING Chapter and then DO the activities in the STUDENT DRAWING guide
Use these as titles to identify each activity on your KEYNOTE. Easiest would be to have a slide for each activity.
Required Chapters: do all activities in each of these chapters
1. Word Art- REQUIRED...20 points
- Activity 1: Sketch and Express with an emoji
- Activity 2: Sketch lines and patterns.
- Activity 3: Create Block Lettering
- Project: Create expressive word are
2. Doodle Art- REQUIRED...20 points
- Activity 1: Doodle ideas with shapes
- Activity 2: Doodle dictionary
- Activity 3: Plan and organize your thinking
- Project: Create a sketchnote
3. Observational Sketching -REQUIRED...20 points
- Activity 1: Shapes, shadows and shading
- Activity 2: Build a Bot
- Activity 3: Break objects into shapes
- Project: Create a sketch of an object
8. Logos - REQUIRED ...20 points
- Activity 1: Plan your design
- Activity 2: Communicate your message visually
- Activity 3: Think like a graphic designer
- Project: Create your logo
9. Infographics - REQUIRED ...20 points
- Activity 1: Plan and research
- Activity 2: Visualize your data story
- Activity 3: Visually arrange your information
- Project: Create an infographic
- Activity 1: Plan your design
EXTRA CREDIT OPPORTUNITY: Choose one (1) chapter to complete from this list for 20 points extra credit if you wish
- 4. Landscapes
- 5. Portraits
- 6. Still Life Composition
- 7. Architectural Design
- 10. Book Design
- You will learn a great deal by doing one or at least read all of them!
Things to do
- Add the artifacts (drawings) you create for each of the activities for your Everyone Can Create DRAWING in a Keynote Presentation. Easiest would be to have a slide for each activity.
- Please put each activity on its own page(s).
- Make sure your Presentation has a title page. Make it intereresting so the viewer want to look at your stuff.
- If NOT labeled correctly, it will not count for points.
- Export your keynote as a Movie or PDF,
- If Movie, upload your movie to YOUTUBE like we did last week. Use the Youtube URL to add your project to Seesaw.
- If PDF, use the file tool to add to Seesaw.
- Publish your SeeSaw blog and submit your PUBLISHED Seesaw URL in Canvas.
Title the Keynote in Seesaw with a Caption: Everyone Can Create Drawing.
Just work your way through the student book using the teacher's guide to clarify and follow the steps.
- Activities are designed so that they can be applied to any subject or grade.
- The teacher's guide will make the point very clear. A list of guiding steps is provided so you can see how they can be shared with (your) students.
- Move to the Student Drawing Guide, and begin working through the Required activities and the 1 choice extra credit activity if you choose to do the extra credit.
- Do it just like your students would do the projects in your class.
- Put each activity on a Keynote slide with the correct titles/labels listed above.
- Reflection of learning. Add as a Note in Seesaw.
Don't forget your reflection-40 points
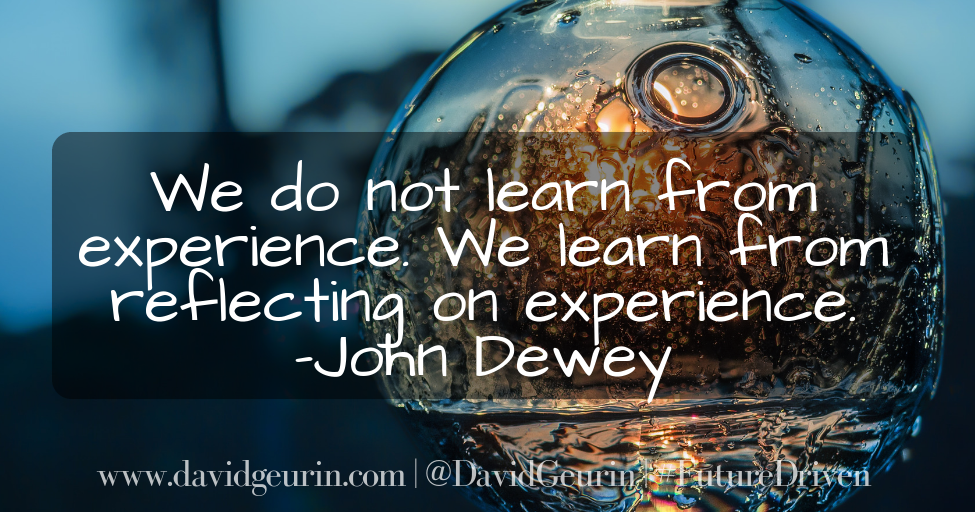
Hopefully, you read the article at the beginning of this document 5 questions for deep reflection We have written several reflections already this semester and I suspect you have in other class too. You should be getting better at writing them. Ree the article, it will help you improve writing your reflections.
Be very specific and detailed in your reflection of learning. A couple of sentences does not represent scholarly writing or thin king.
Your reflection is added to your Seesaw should using the Note tool.
Use the title: Everyone Can Create-DRAWING
40 points
5 Questions for Deeper Reflection: Discover ways to write better reflections
Cyndi Kuhn
Cyndi
College of Education Kansas State University
Wakelet
Pinterest
Flipboard
Scoop.it
paper.li: iPads in the Classroom
Email: edtechksu@gmail.com
Website: cyndikuhn.info
Location: Gardner, KS, United States
Phone: 7853200025
Twitter: @cyndidannerkuhn