Creative Skill Reflection
Jordan Krueger
Front Page- Introduction
My first attempt at the hole punching machines!
Spread 1- October 2012
This was the spread that Mimi helped me with! She talked me through how to organize and layer images!
Spread 2- August 2013
Beginning to feel more comfortable! I used the hole punches for borders at Mimi's recommendation and was pleased with the result!
How I Started
I have always wanted to be a scrapbooker. I had even bought pieces and materials over the years because I just knew that at some point, I was going to do it! I had considered myself mildly creative, and I have so many pictures from so many great trips, that I felt like I had to do something with them! More than a year before the start of this class, I bought a beautiful Disney scrapbook while I was on vacation that I decided was going to be my project for that summer! More than 365 days later, that scrapbook remained untouched in its original plastic. This assignment gave me the ability to knuckle down, and commit to a creative skill that I had always wanted to learn!
The first step to this was purchasing some materials, and finding someone who could get me started. I'm a highly visual and hands-on learner, so my Mimi was the person to call! She has a room that is over-flowing with craft materials, so I knew that she would be a great mentor for me throughout this process. I began my journey with a lesson from Mimi, where she taught me the basics of layering, embellishing, and hole punching a beautiful scrapbook spread!
Spread 3- October 2013
(I need to fix that date!) This was my first big leap with color, and my first attempt at layering paper! It was a huge success! I was afraid that it would be busy, but instead, it looked full!
Spread 4- November 2013
The gold fiasco... Took some ideas from a YouTube channel that created a "title page" for each spread and focused on one side for scraps and the other for pictures. I love the layout, but learned from my washed out pages!
Spread 5- December 2013 in Magic Kingdom
This was a page that I was proud of! I felt the freedom to edit the shapes of some of the pictures, use more than one patterned paper, and I fit in a TON of good scraps! I did miss my hole punches, though!
What Allowed Me to Grow? What Failed Me?
Items and Technology That Lead to Success:
Mentorship:
- Without Mimi, I doubt that I would have been successful to any degree. She was always there if I needed help, and she taught me by completing work with me and next to me so that I could learn her techniques! This experience has made me a huge proponent of any mentorship program available to gifted students. The experience of actually doing the skill you're learning with the safety net of a professional allowed me to feel the freedom I needed to take chances with my spreads and try things that I may have been nervous to try otherwise. Also, I gained the opportunity to see the way that she did things and to borrow from her ideas and make them into my own!
YouTube:
- Again, appealing to my visual needs, YouTube was a huge asset for me during this skill development time. I found a few really great (and a few really not so great) resources on YouTube! YouTube was actually where I learned something that was invaluable and reassuring- no two scrapbook pages will ever be identical, which makes it a truly creative skill. Each of the people that I watched added their own flare and style to spreads that had very similar content, but the results and products were all so incredibly different. It reiterated for me that there is no incorrect way to scrapbook. In the words of Miss Frizzle: "Take chances, make mistakes, get messy!"
Martha Stewart Hole Punches:
- A nice perk of having Mimi as a mentor was having access to her litany of materials. Among these materials, easily the most valuable and utilized tools were the Martha Stewart hole punches. These things existed in innumerable designs and images which made them a versatile addition to all of my pages. I began a little timidly with the punches, learning their capabilities and limits, but as time went on, I became more and more confident. These things created my borders, my embellishments, my edges, and many other elements to almost every spread! Without these tools, I would have had to rely on those horrible pattern scissors that have to be pried open with a vice every time they accidentally closed- and there was NO way I would have stayed calm trying to do all of that!
Patterned Paper, Decals,Textured Paper, and Paper Overlays:
- You'll notice in the beginning of my scrapbook, I played it very safe with patterned paper. I would try to pick maybe one good pattern and a couple solids for accents. This lead to a very clean, almost sterile feel to my pages. By the time I got to the first Halloween spread, I decided to take a stab at some paper overlays and a textured paper. Let's just say, "THERE'S NO TURNING BACK NOW!" (Haunted Mansion reference, for those who understand!). From that point, I realized that overlays and texture added so much dimension to my pages, and I sought to use as much of them as possible. Although, a lesson that I learned was that you can't over-do it, or you have a mess of mush on your hands!
Things that FAILED Me:
Pinterest:
- I love Pinterest. I say that in the most genuine way, as my account rocks more than 7,000 pins between my 30-something boards. To be frank, I use Pinterest for everything. That being said, I was completely disappointed when I tried to use Pinterest to assist with my spreads. The searches were difficult to narrow down to some specific things that I was looking for, and the one week that I did try to use "Pin-spiration", it didn't work out so well, and I ended up scrapping (and not in the book) what I had started. Overall, this was the biggest shock to me throughout this process. The resource that I had expected to rely very heavily on was one that was of absolutely no help to me!
Spread 6- December 2013 in Hollywood Studios
These were some of my favorite pictures from any trip, and I really tried to highlight the colors in the pictures with the sparkly paper! One downfall to sparkly paper is that they were too thick for my hole punches! However, I added depth with decals and chalkboard markers!
Spread 7- December 2013 Character Meal and EPCOT
This is my only SPLIT page spread, though they are both from the same trip! I wanted to make sure that I squeezed in some pictures from our character dining, but also our standard picture from EPCOT! I carried the picture of our "spot" in EPCOT through each trip!
Close up of detail added to Character Dining!
I utilized my hole punches here to create my own decal rather than using a pre-made decal for the Character Dining stickers!
Overall Reflective Analysis
Skills
- A major skill that I learned through this process that I had never really felt I was "gifted" at, was spacial awareness. Immediately beginning these spreads, I realized that I was limited on space, but not on ideas, and I had to find ways to manipulate pictures, scraps, and decals in ways that I would not have normally considered before. Overlapping things into book-like elements, and choosing to cover certain pieces of images that I deemed less necessary was something that I had to get used to. I'd play it safe in the beginning, only using, at most, three pictures per page. Yet as I practiced the skill more, I learned that I was capable of manipulating the items in my space in order to fit more onto a page... And with the number of pictures I had, it was a good thing!
- Another skill that I felt like I developed was the ability to create visual art that was aesthetically pleasing. While I know that "aesthetically pleasing" is a subjective description, I really studied things like balance and color palettes to determine what things would coordinate, and what things absolutely would NOT. One bit of success that I did have with Pinterest was locating color schemes- not in the crafting categories- but in home improvement categories. I'd look at images of upholsteries and rugs to find new colors that blended well that I might not have thought to use on my own! I had never considered how important the exact shade of the 49 cent paper was, but it really makes or breaks a spread. My biggest mistake came in the Food and Wine Festival spread- I was planning to experiment with different shades of gold. I thought that if I got enough varying shades and textures that they would tie together nicely and offset the greens and blues I was using as well. The problem was that there was an overabundance of gold, and it completely washed out my spread! However, I learned from that and went for brighter colors with my final Christmas spread! :)
Processes
- Scrapbooking became a process that was both learned and developed. When I worked with my Mimi, she showed me her processes and steps for making a page. The best advice she gave me was, "Don't ever glue anything down until the very end!" From there, I watched what she did and found a system that worked for me! Through trial and error, I created my own scrapbooking process. Here were the steps to a successful scrapbooking spread that I ended up following almost religiously by the fourth spread:
- Pick out the theme for the spread (in my case, each spread was themed by a different trip to Disney World!)
- Pick out a pile of pictures that go with the theme
- Pick out the colors that you are going to use that both reflect the theme and complement the colors in the pictures (in the Halloween spread, I was wearing a bright orange/yellow shirt, so I made sure that the colors I chose would complement and not clash such a bright color!)
- Choose your background pages- sometimes I'd lay them side by side with JUST the pictures on top, and then test out a different set. When I was feeling frisky, I'd try two different pages!
- Once background pages have been settled upon, begin to mat the pictures. Balance was a huge thing here. You don't want all of the pictures matted the same way, so it was helpful to arrange the pictures without mats first, and then determine which color mat they needed!
- After mats are applied, re-place the pictures on the background to see what needs to be added- this is where you try and fill up "boring" space with scraps from the trip, or other, more-interesting paper to create some depth!
- Once you have everything matted and placed so that there's no "boring" space and the page looks full - but NOT busy- then it's time to glue!
- Finally, add the embellishments. These can be 3D stickers that I grew fond of over time, words, labels, or any other small additions to take up that last bit of space!
- Place your pages in the protectors and viola! :)
Products
- There is nothing more fulfilling than creating a project that you love, and that you are proud of. My scrapbook has filled me with a sense of accomplishment that can only be found from adventures like this one. I took an unorganized pile of images that represented some very special memories and arranged them into a keep-sake that I will have for the rest of my life. Being that I'm getting married, it makes me feel like I will also have the ability to document the next exciting stages of my life to the same level of success that I was able to with this scrapbook. I can look at the pages and see not only how I physically grew over-time in the pictures, but also how my techniques and styles grew over-time through my scrapbooking tastes! Mixed throughout this presentation is my entire scrapbook from cover to cover, and I am excited to fill the remaining pages with all of the Disney trips that I've taken with my friends (and now fiance) up until our wedding this June. This product is not just a product, it is a special compilation of precious memories, and I look forward to beginning a new chapter of books!
Environments
- I learned a LOT about myself as a creative learner in this project based on the environments that were necessary for me to work successfully! I have always been a tad on the OCD side, but this project really illustrated to me just how much I require organization and space to feel creatively liberated. I had one week where I felt so overwhelmed by the pile of STUFF that I had accumulated for the projects that I had to take a week to get myself organized! I bought a crafting roll bag and boxes and bins for some of the materials, and I managed to organize that bag like a Tetris puzzle! It has stayed that way since, and I have not had that overwhelmed feel since. I learned that I cannot work in material chaos!
- I got into the habit of pulling out a HUGE card table into the very middle of the living room, turning on Friends on Netflix, and working with quiet noise in the background. Sometimes, that sitcom noise would be replaced with music, but there always had to be some sort of noise. If there was no noise, I'd find myself thinking very intently on things NOT related to my scrapbook, and I would make careless errors! But the noise was just enough to pull my attention from deeper matters, and keep my fast-moving brain at bay!
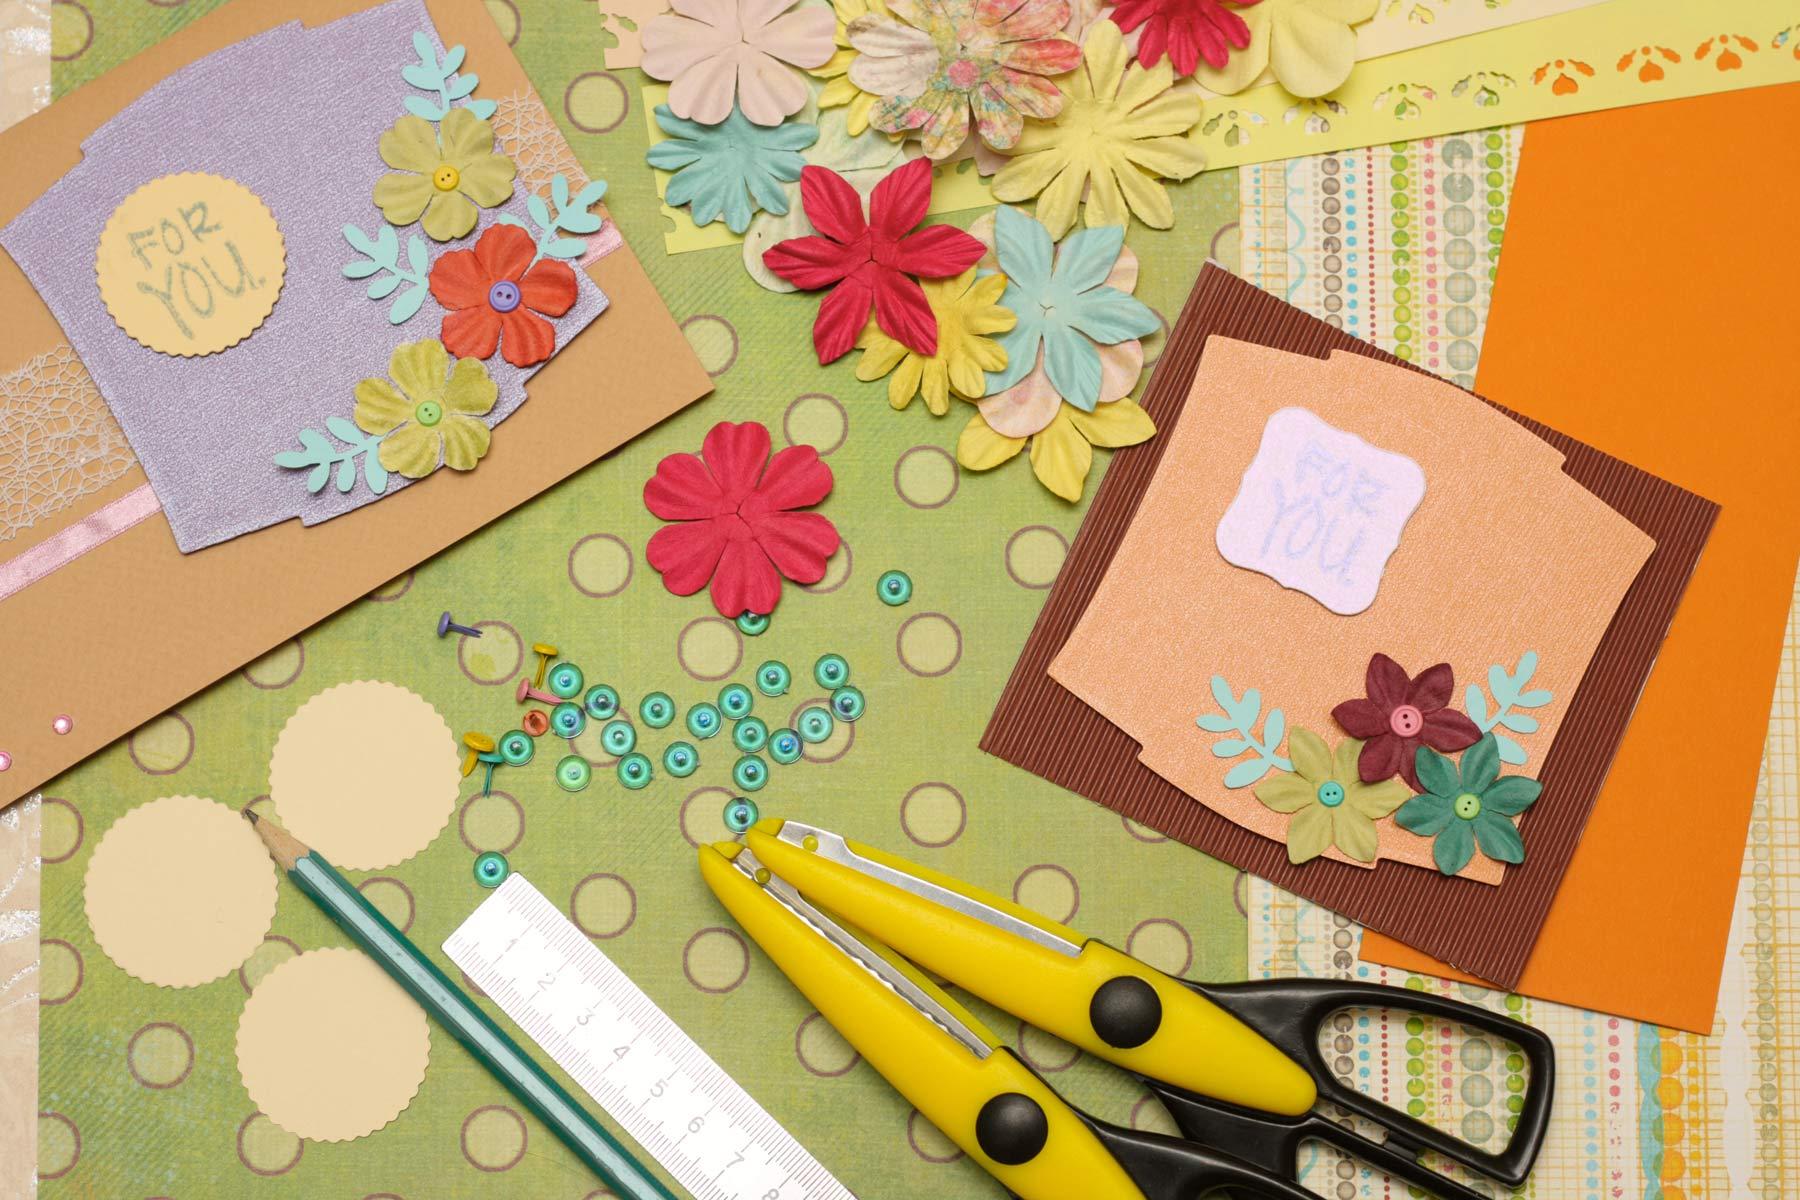
One of my favorite SCRAPS!
I loved the addition that my scraps made to this spread. They actually almost worked as their own embellishments!
A close up of my layering paper success!
The black design is a clear sheet that is overlaying a striped page beneath it. Coupled with the awesome skull designs in the matting, I LOVE this spread!
One of my favorite pages- BALANCE!
This page makes my OCD happy. Whereas many other pages exist in balanced calamity, this one is centrally focused and perfectly balanced. *sighs*
The Rembrandts - I'll be there for you by harknessx